Butterfinger Cake Recipe
Introduction
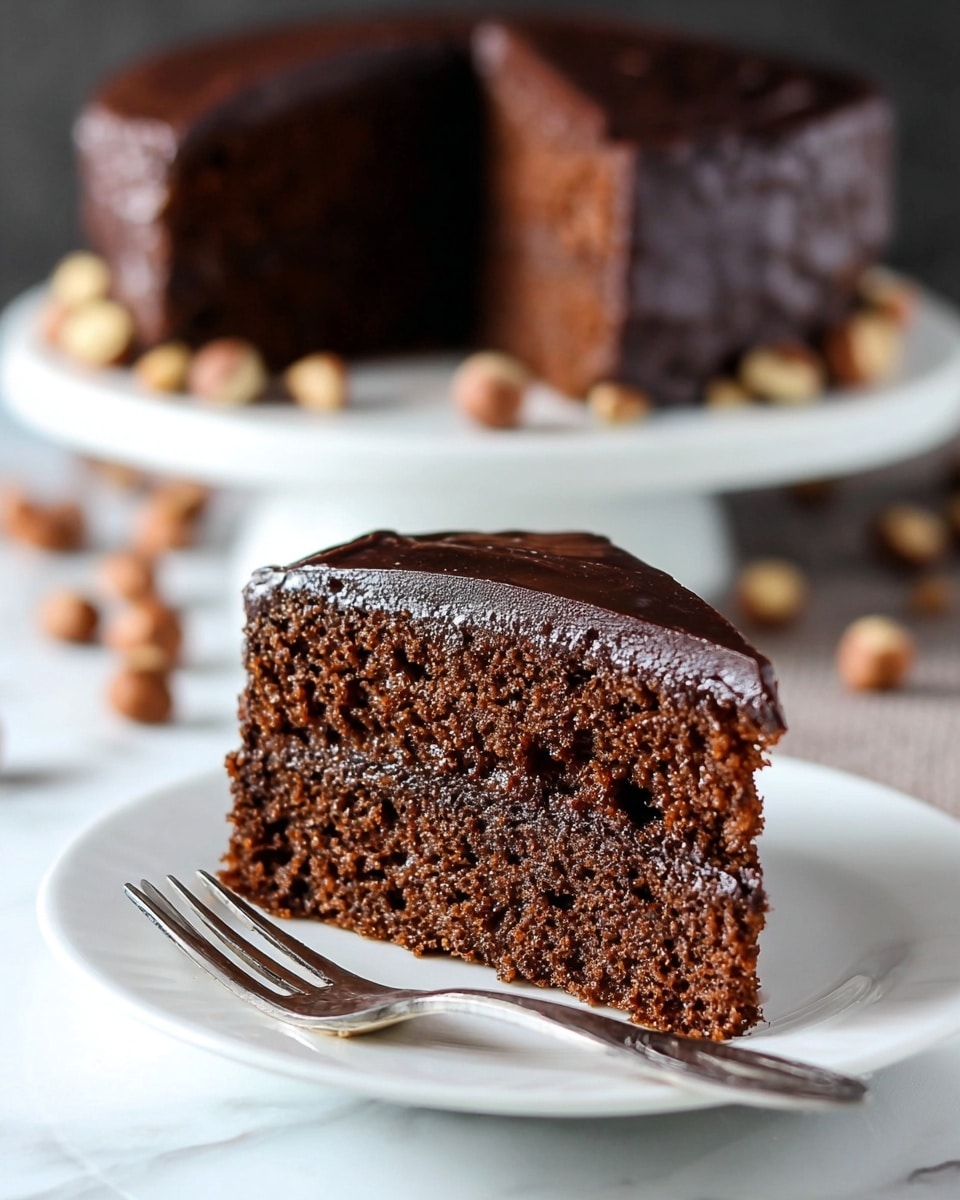
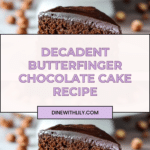
This Butterfinger Cake is a decadent treat combining rich chocolate cake layers with creamy peanut butter buttercream and crunchy Butterfinger candy pieces. It’s perfect for celebrations or any time you want to indulge in a sweet, nutty dessert with a satisfying crunch.

Ingredients
- 1 cup unsalted butter (2 sticks)
- 2 1/4 cups cake flour
- 1 teaspoon baking soda
- 1/4 teaspoon salt
- 1/4 cup cocoa powder
- 1 cup brown sugar
- 3/4 cup granulated sugar
- 4 large eggs
- 4 oz semi-sweet chocolate
- 2 teaspoons pure vanilla extract
- 1/2 cup sour cream
- 1/2 cup milk
- 2 cups softened butter (4 sticks) for peanut butter buttercream
- 2 cups creamy peanut butter
- 2 teaspoons vanilla extract for buttercream
- 6 cups sifted confectioners’ sugar
- 1/2 cup heavy cream (add more if needed)
- Butterfinger candy pieces (regular or fun size) for assembly
Instructions
- Step 1: Preheat your oven to 350°F. Line the bottom of two 9-inch cake pans with parchment paper and spray the bottom and sides with nonstick spray.
- Step 2: In a bowl, sift together the flour, baking soda, cocoa powder, and salt. Set aside.
- Step 3: In the bowl of a stand mixer, cream the butter and both sugars on medium speed until lightened in color, about 2-3 minutes.
- Step 4: Add the eggs one at a time, beating well after each addition. Mix in the vanilla extract.
- Step 5: Melt the semi-sweet chocolate in the microwave in 15-second intervals, stirring until smooth. Add the melted chocolate to the mixer and combine.
- Step 6: Reduce mixer speed and combine sour cream and milk in a small glass. Alternate adding the flour mixture and the milk mixture in 2-3 batches, starting and ending with the dry ingredients. Mix until just combined.
- Step 7: Divide the batter evenly between the two prepared pans. Bake for 25-35 minutes, or until a skewer inserted into the center comes out clean.
- Step 8: Remove the cakes from the oven and cool on a rack for 20 minutes. Then unmold and let them cool completely (refrigerate to speed cooling if desired).
- Step 9: For the peanut butter buttercream, cream the softened butter and peanut butter together in a stand mixer for 2-3 minutes until soft.
- Step 10: Gradually add the confectioners’ sugar in 3-4 batches, mixing well after each addition. Mix in the vanilla extract.
- Step 11: Add the heavy cream last and mix until smooth. If the frosting is too stiff, add a little more cream to reach your desired consistency.
- Step 12: Chop the Butterfinger candy into small pieces for assembly.
- Step 13: Level the cake tops by cutting off any domed surface and remove excess crumbs. Flip one cake layer so the bottom is on top.
- Step 14: Spread a thin layer of frosting on the flipped cake layer and sprinkle chopped Butterfinger pieces evenly over the frosting.
- Step 15: Add more frosting to cover the candy pieces, then place the second cake layer on top.
- Step 16: Cover the entire cake (top and sides) with the remaining frosting and decorate with additional Butterfinger pieces as desired.
- Step 17: Refrigerate the cake until ready to serve. Enjoy your indulgent Butterfinger Cake!
Tips & Variations
- Use room temperature ingredients for smoother batter and frosting.
- To prevent your frosting from being too stiff, add heavy cream gradually and mix well.
- Try swapping Butterfinger candy for chopped peanut butter cups for a different twist.
- If you prefer a lighter frosting, reduce the amount of butter and increase the powdered sugar slightly.
- Refrigerate the cake uncovered for about 20 minutes before serving to firm up the frosting and candy pieces.
Storage
Store the Butterfinger Cake covered in the refrigerator for up to 5 days. Allow the cake to come to room temperature for about 30 minutes before serving for best flavor and texture. Leftovers can be wrapped tightly and frozen for up to 2 months; thaw in the fridge overnight before enjoying.
How to Serve
Serve this delicious recipe with your favorite sides.
FAQs
Can I make this cake a day ahead?
Yes, this cake can be baked and assembled a day in advance. Keep it refrigerated and bring it to room temperature before serving for the best taste.
Can I substitute regular peanut butter for creamy?
Creamy peanut butter is recommended for a smoother buttercream texture, but natural or chunky peanut butter can be used for a different texture and stronger peanut flavor.
PrintButterfinger Cake Recipe
This Butterfinger Cake is a decadent chocolate cake layered with creamy peanut butter buttercream and studded with crunchy Butterfinger candy pieces. Moist chocolate cake layers are enriched with melted semi-sweet chocolate, then frosted with a luscious peanut butter buttercream. The cake is finished with plenty of Butterfinger pieces for an irresistible texture and flavor contrast. Perfect for peanut butter and chocolate lovers looking for a show-stopping dessert.
- Prep Time: 30 minutes
- Cook Time: 30 minutes
- Total Time: 1 hour
- Yield: 12 servings 1x
- Category: Dessert
- Method: Baking
- Cuisine: American
Ingredients
For Chocolate Cake:
- 1 Cup unsalted Butter (2 sticks)
- 2 1/4 Cups Cake Flour
- 1 Teaspoon Baking Soda
- 1/4 Teaspoon Salt
- 1/4 cup Cocoa Powder
- 1 Cup Brown Sugar
- 3/4 Cup Granulated Sugar
- 4 large Eggs
- 4 oz Semi-Sweet Chocolate
- 2 Teaspoons pure vanilla extract
- 1/2 cup sour cream
- 1/2 cup milk
Peanut Butter Buttercream:
- 2 cups Butter, softened (4 sticks)
- 2 cups creamy Peanut Butter
- 2 teaspoons Vanilla Extract
- 6 cups Confectioners’ Sugar, sifted
- 1/2 cup Heavy Cream (plus more if needed)
Assembly:
- Butterfinger candy pieces (fun size or regular, chopped)
Instructions
- Preheat and Prepare Pans: Preheat your oven to 350°F (175°C). Line the bottom of two 9-inch cake pans with parchment paper, then spray the bottom and sides with nonstick spray to ensure easy cake release.
- Mix Dry Ingredients: In a bowl, sift together the cake flour, baking soda, cocoa powder, and salt. Set aside.
- Cream Butter and Sugars: Using a stand mixer, beat the butter, brown sugar, and granulated sugar on medium speed until light and fluffy, about 2-3 minutes.
- Add Eggs and Vanilla: Add eggs one at a time, beating well after each addition to fully incorporate. Then add the vanilla extract and mix well.
- Melt Chocolate: Melt the semi-sweet chocolate in the microwave in 15-second intervals, stirring in between to prevent burning. Once melted, add to the mixer and blend until combined.
- Combine Sour Cream and Milk: In a small glass or bowl, mix together the sour cream and milk.
- Alternate Adding Dry and Wet Ingredients: Reduce mixer speed. Add the dry flour mixture and sour cream/milk mixture alternately into the batter in 2-3 batches, starting and ending with the dry ingredients. Mix just until combined to avoid overmixing.
- Divide Batter and Bake: Divide the batter evenly between the prepared pans. Bake for 25-35 minutes or until a toothpick inserted in the center comes out clean.
- Cool Cakes: Remove cakes from oven and let cool on a rack for 20 minutes. Then carefully remove from pans and allow to cool completely, refrigerating if desired to speed up cooling.
- Prepare Peanut Butter Buttercream: In a stand mixer, cream together softened butter and creamy peanut butter for 2-3 minutes until soft and fluffy. Gradually add the sifted confectioners’ sugar in 3-4 batches, mixing well after each addition. Add vanilla extract and mix. Finally, add heavy cream and beat until smooth and spreadable. Add more cream if frosting is too stiff.
- Assemble the Cake: Chop Butterfinger candy bars into small pieces. Level the tops of cakes by cutting off any domed portions and remove crumbs. Flip one cake layer upside down so the bottom becomes the top. Spread a thin layer of peanut butter buttercream on top. Generously sprinkle chopped Butterfinger pieces over the frosting to cover it completely.
- Layer and Frost: Spread additional frosting over the Butterfinger candy layer. Place the second cake layer on top. Cover the entire cake—top and sides—with the remaining peanut butter buttercream.
- Decorate and Chill: Decorate the top and sides of the cake with more Butterfinger pieces. Refrigerate the cake until ready to serve so the frosting firms up and flavors meld perfectly.
- Serve: Slice, serve, and enjoy this rich and crunchy Butterfinger Cake!
Notes
- Use room temperature ingredients for best mixing results.
- Do not overmix the batter; this keeps the cake tender.
- Cooling the cakes completely before frosting helps prevent melting the buttercream.
- Adjust the amount of heavy cream in the frosting to reach your desired consistency.
- Refrigerate leftovers to keep the cake fresh and firm.
- Butterfinger candy can be substituted with similar peanut butter candy bars if desired.
Keywords: Butterfinger cake, chocolate cake, peanut butter buttercream, chocolate peanut butter cake, Butterfinger candy, layered cake, dessert
