Popular Japanese Hiyoko Manju at Home Recipe
Introduction
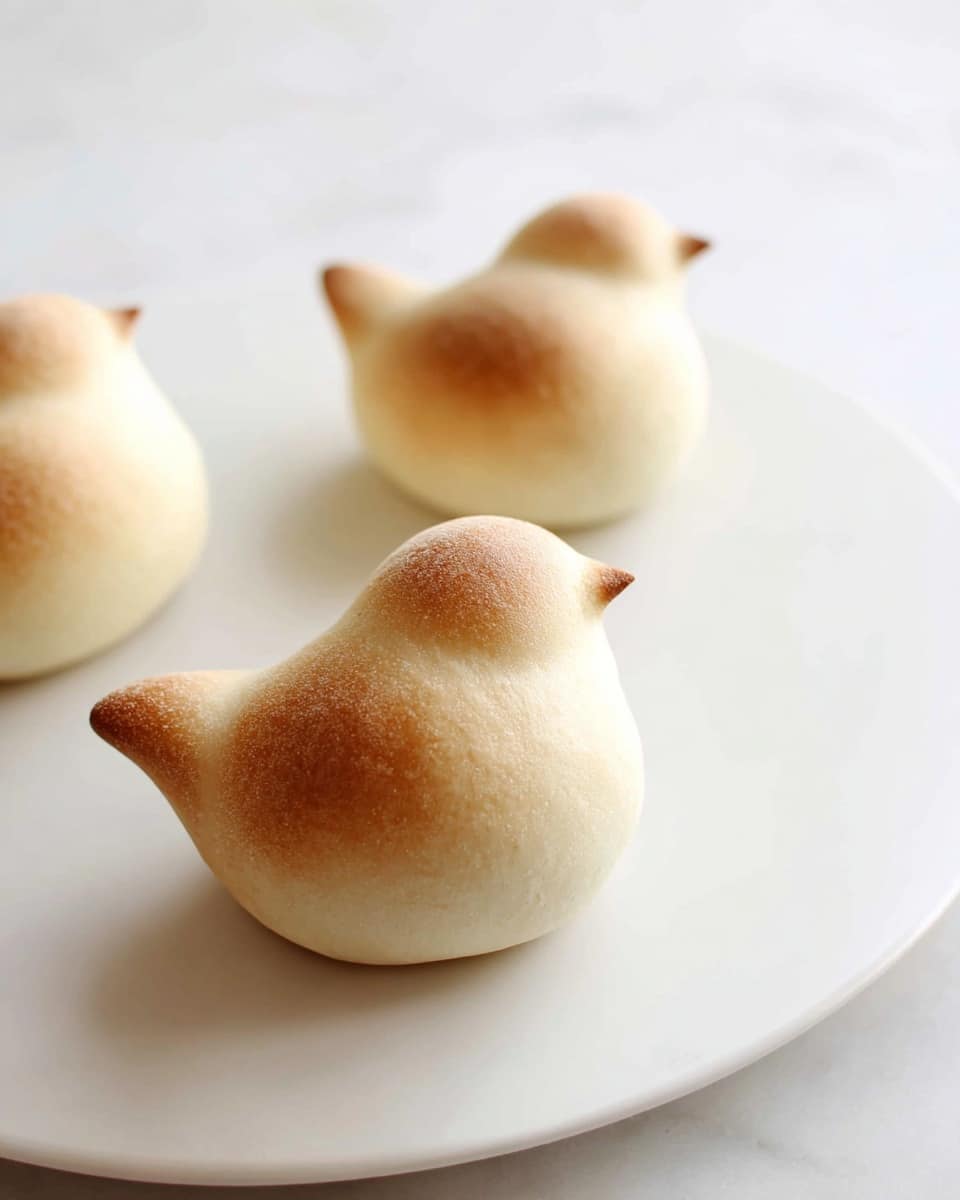
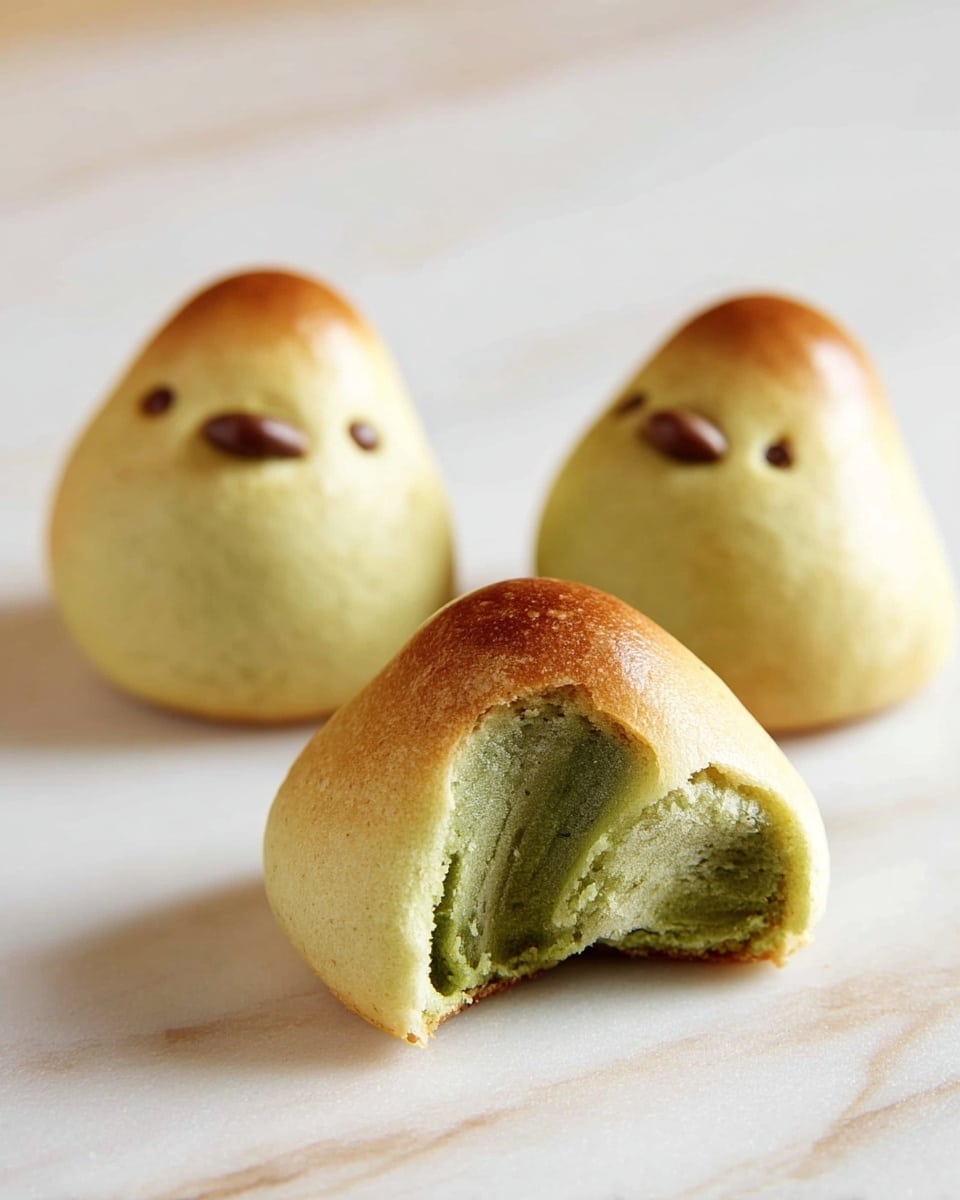
Hiyoko Manju are charming Japanese chick-shaped sweet buns filled with a smooth bean paste. This popular treat combines a tender, slightly gooey dough with a sweet filling, making it a delightful and unique dessert to enjoy at home.
Ingredients
- 93 g sweetened condensed milk (about ⅓ cup minus 1 tsp)
- 16 g egg yolk (about 1 large egg yolk)
- 2 g baking soda (about ⅓ tsp)
- 20 g cornstarch (about ½ cup plus 1 Tbsp)
- 75 g cake flour (about ½ cup plus 2 Tbsp)
- 250 g sweet white bean paste or filling of choice (red bean paste, lotus bean paste, almond paste)
Instructions
- Step 1: Pre-portion and freeze the filling using a cookie or small ice cream scoop. Place portions on a parchment-lined tray and freeze for at least 3-4 hours or overnight. This helps with shaping and sealing later but is optional.
- Step 2: Prepare the dough by placing a metal or glass bowl over a smaller bowl filled with hot water. Add sweetened condensed milk and egg yolk to the top bowl and stir gently until warm.
- Step 3: Sift in baking soda, cornstarch, and cake flour, then stir until a soft, slightly sticky dough forms.
- Step 4: Cover the dough tightly with plastic wrap and refrigerate for about 1 hour until cold and firm.
- Step 5: Sprinkle a tray with cornstarch and scrape the dough onto it. Divide the dough into 12–16 equal pieces, lightly coat with cornstarch to prevent sticking.
- Step 6: Dust hands with cornstarch, flatten each dough piece into a thin disk, and place a frozen filling portion in the center.
- Step 7: Carefully wrap the dough around the filling and roll into a ball. Patch any cracks with small dough pieces.
- Step 8: Shape the “neck” of the chick by rolling the center of the ball between thumb and index finger, then pinch a small bit at the front to form a beak.
- Step 9: Preheat the oven to 340°F (170°C) and arrange the shaped manju on a parchment-lined baking sheet.
- Step 10: Bake for 12-13 minutes or until lightly golden, then let cool completely at room temperature.
- Step 11: For best texture, store in an airtight container and refrigerate overnight before serving to transform the texture from delicate and crisp to smooth and velvety.
Tips & Variations
- Freezing the filling beforehand makes shaping and sealing easier, especially for sticky dough.
- Try different fillings like red bean paste or almond paste for variety.
- If cracks appear while shaping, patch with small pieces of dough as they will smooth out during baking.
- Use cornstarch liberally on your hands and work surface to prevent sticking.
Storage
Store joined manju in an airtight container in the refrigerator for up to 3 days. Refrigerating overnight enhances the texture, making the dough smooth and tender rather than crisp. Reheat gently in a warm oven if desired, but they are best enjoyed chilled or at room temperature.
How to Serve
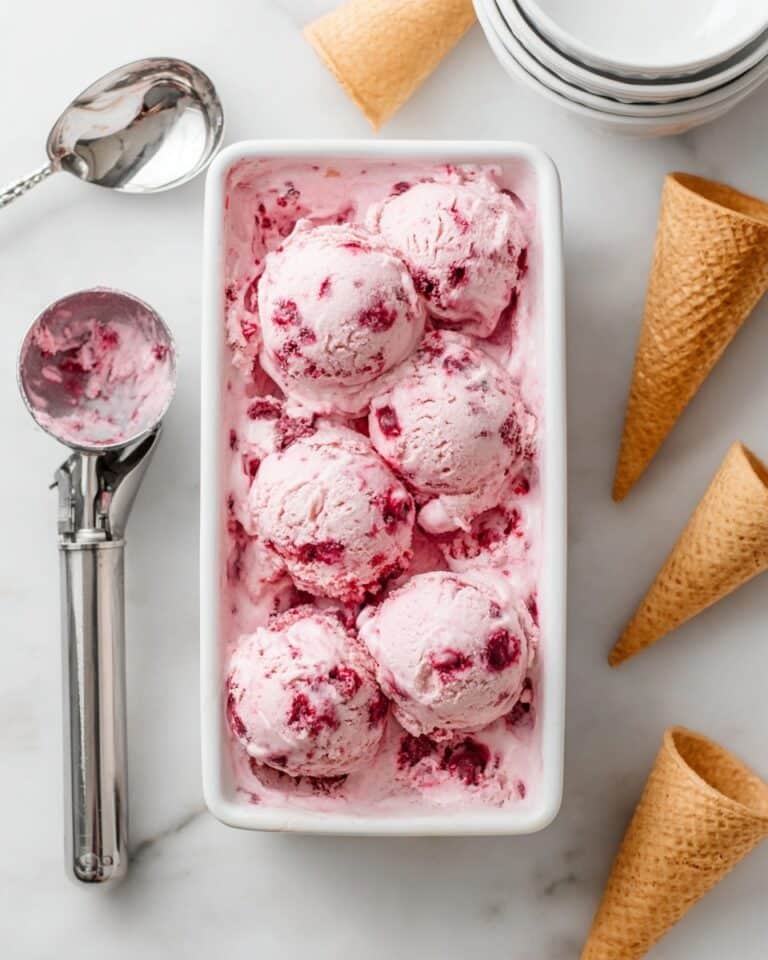
Serve this delicious recipe with your favorite sides.
FAQs
Can I use other types of flour for the dough?
Cake flour is preferred for its light texture, but you can substitute with all-purpose flour; just expect a slightly denser dough.
Is it necessary to refrigerate the dough before shaping?
Yes, chilling the dough firms it up, making it easier to handle and less sticky, which helps in shaping the manju neatly.
PrintPopular Japanese Hiyoko Manju at Home Recipe
Hiyoko Manju is a popular Japanese sweet treat shaped like little chicks, featuring a soft, moist dough enveloping a sweet white bean paste filling. This homemade version uses sweetened condensed milk for a tender dough and offers an optional freezing step to ease shaping. Baked to a light golden finish, these adorable confections are a delightful balance of texture and sweetness, perfect for gifting or enjoying with tea.
- Prep Time: 1 hour 15 minutes
- Cook Time: 13 minutes
- Total Time: 1 hour 28 minutes
- Yield: 12–16 manju 1x
- Category: Dessert
- Method: Baking
- Cuisine: Japanese
Ingredients
Manju Dough
- 93 g sweetened condensed milk (about ⅓ cup minus 1 tsp)
- 16 g egg yolk (about 1 large egg yolk)
- 2 g baking soda (⅓ tsp)
- 20 g cornstarch (about ½ cup plus 1 Tbsp)
- 75 g cake flour (about ½ cup plus 2 Tbsp)
Filling
- 250 g sweet white bean paste (or alternate fillings such as red bean paste, lotus bean paste, or almond paste)
Instructions
- Pre-portion and Freeze the Filling (Optional): Use a cookie scoop or small ice cream scoop to portion the sweet white bean paste or your chosen filling into small balls. Place these portions onto a parchment-lined plate or tray and freeze them for at least 3-4 hours or overnight. This optional step helps make shaping and sealing the dough easier.
- Prepare the Dough: Place a metal or glass bowl over a smaller bowl filled with hot or boiling water to create a warm bath. Add the sweetened condensed milk and egg yolk to the top bowl and stir gently until the mixture is warm. Sift in the baking soda, cornstarch, and cake flour, stirring continuously. Mix until a soft, almost gooey dough forms. The dough will be sticky at this stage.
- Chill the Dough: Cover the bowl tightly with plastic wrap and refrigerate the dough for about 1 hour or until it becomes cold and firm.
- Shape and Fill: After chilling, scrape the dough onto a tray sprinkled lightly with cornstarch. Divide the dough into 12-16 equal pieces, coating them lightly with cornstarch to prevent sticking. Dust your hands with cornstarch and flatten each piece into a thin disk. Place one portion of the pre-frozen (or room temperature) filling in the center of the disk. Carefully wrap the dough around the filling and roll it into a ball. If cracks appear in the dough, patch them using small pieces of dough which will smooth out during baking. Then, apply light pressure gently rolling the center of the ball along your thumb and index finger to create the chick’s neck. Pinch a tiny piece of dough at the front to form a small beak.
- Bake the Manju: Preheat your oven to 340°F (170°C). Arrange the shaped manju on a parchment-lined baking sheet spaced apart. Bake for 12-13 minutes until they turn a light golden color.
- Cool and Rest: Let the manju cool completely at room temperature. For the best texture, store them in an airtight container and refrigerate overnight. This resting step transforms the texture from delicate and crisp to smooth and velvety.
Notes
- Freezing the filling is optional but highly recommended to make shaping easier and prevent stickiness while wrapping.
- If cracks appear in the dough during shaping, patch them gently with small pieces of dough.
- Refrigerating the baked manju overnight enhances the texture, making it smooth and velvety instead of crisp.
- You may substitute sweet white bean paste with red bean paste, lotus bean paste, or almond paste based on preference.
- Handle the dough with cornstarch to prevent sticking during shaping.
Keywords: Hiyoko Manju, Japanese sweets, bean paste, baked manju, traditional Japanese dessert

