The Ultimate Relish Tray Guide Recipe
Introduction
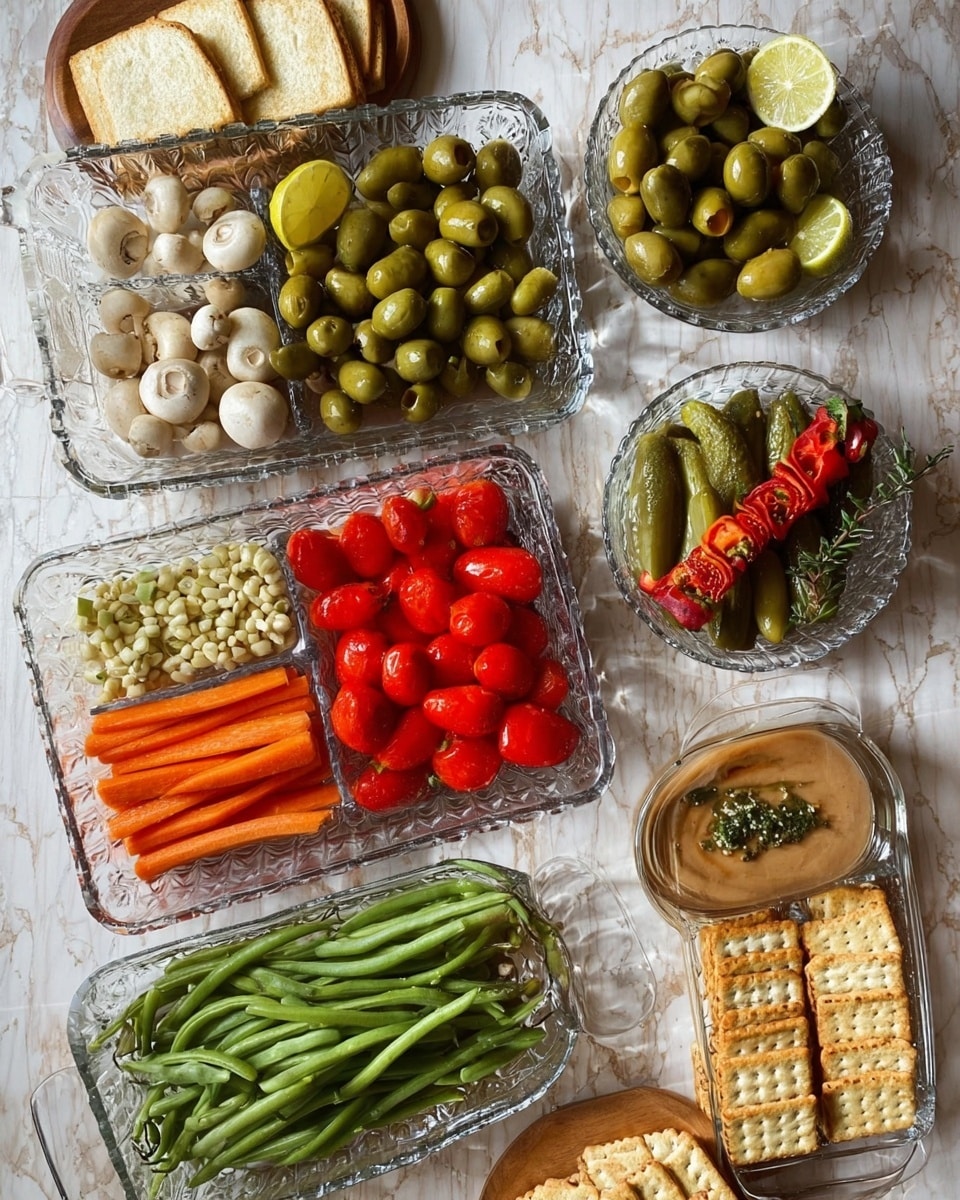
The ultimate relish tray is a vibrant and flavorful appetizer that brings a variety of tastes and textures to your table. Perfect for parties or casual gatherings, this assortment of pickled and marinated goodies pairs wonderfully with cheeses and crackers for an irresistible starter.
Ingredients
- 10 oz Greek pitted mixed olives
- 1 package garlic parmesan toasted French rounds
- 1 cup pimento cheese
- 3 oz parmesan cheese crisps
- 6 oz stuffed green olives
- 10 oz hot cherry peppers
- 1 cup marinated mushrooms
- 8 oz pickled green beans
- 8 oz pickled carrots
- 4 oz cornichons or sweet gherkins
- 8 oz pickled okra
- 2 cups boiled peanuts
Instructions
- Step 1: Drain all of the marinated or pickled ingredients thoroughly to avoid excess liquid on the tray.
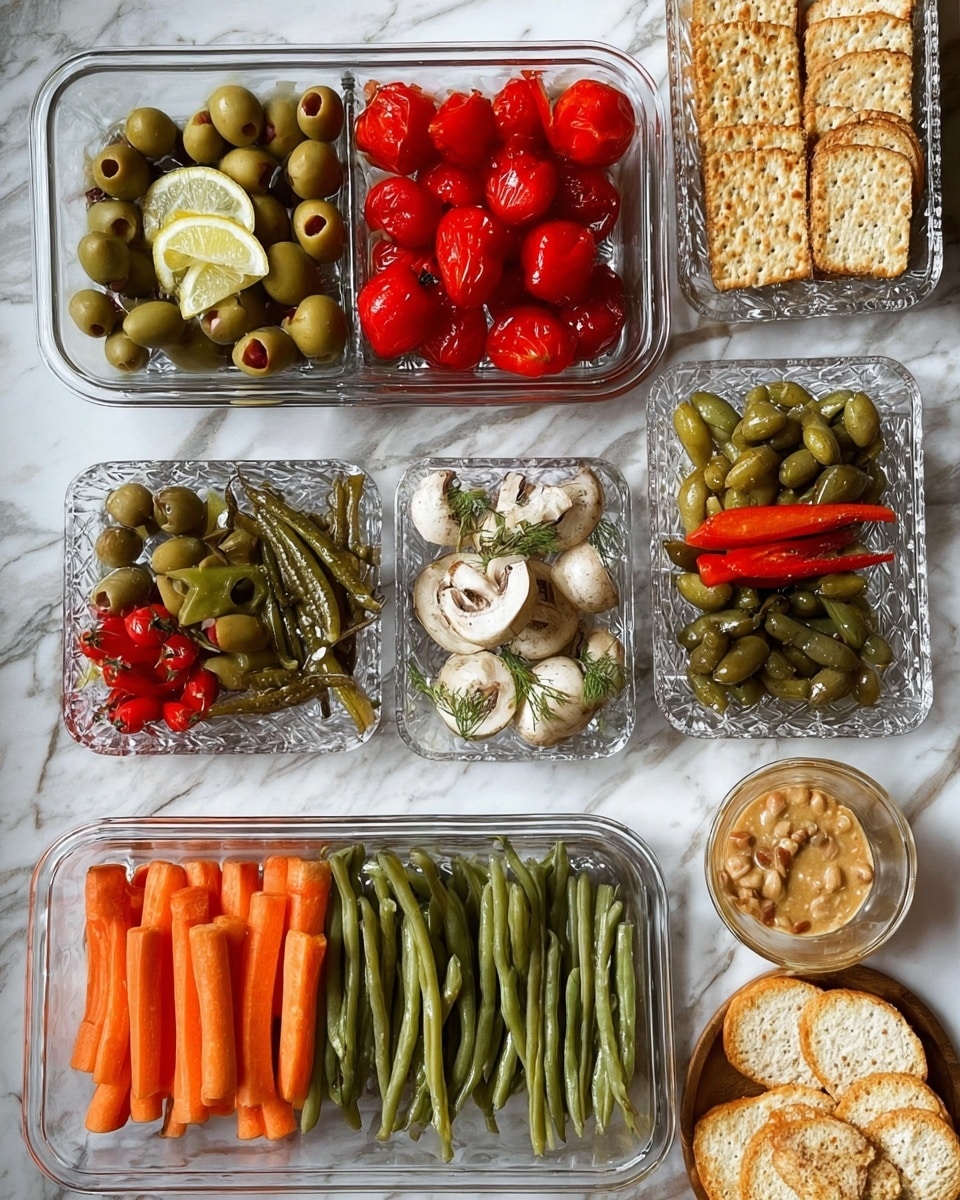
- Step 2: Arrange the ingredients artfully on one or more large relish trays, considering color and texture for an appealing presentation.
- Step 3: Serve immediately, or cover the trays lightly and store them in the refrigerator until ready to serve.
Tips & Variations
- Relish trays can be served chilled or at room temperature depending on your preference.
- Adjust the quantity and variety of ingredients to suit the number of guests; choose fewer items for a smaller group.
- Balance colors and textures by mixing crunchy, soft, spicy, and mild components for visual appeal and flavor complexity.
- Provide plenty of small plates, cocktail forks, and napkins to make it easy for guests to enjoy the tray.
Storage
Store any leftover relish ingredients in an airtight container in the refrigerator for up to 3 days. The tray can be covered with plastic wrap or a lid to maintain freshness. Before serving again, allow the tray to come to room temperature or serve chilled according to preference.
How to Serve
Serve this delicious recipe with your favorite sides.
FAQs
Can I prepare the relish tray in advance?
Yes, you can prepare the ingredients ahead of time and store them separately in the refrigerator. Assemble the relish tray shortly before serving to maintain the best texture and appearance.
What can I serve alongside the relish tray?
Garlic parmesan toasted rounds, crackers, and pimento cheese make excellent accompaniments, adding crunch and creaminess to complement the pickled and marinated items.
PrintThe Ultimate Relish Tray Guide Recipe

The Ultimate Relish Tray Guide provides a vibrant assortment of marinated and pickled vegetables, cheeses, and olives designed to delight with a variety of colors, textures, and flavors. Perfect for gatherings, this easy-to-assemble relish tray offers a range of savory bites that can be served chilled or at room temperature.
- Prep Time: 15 minutes
- Cook Time: 0 minutes
- Total Time: 15 minutes
- Yield: Serves 20 1x
- Category: Appetizer
- Method: No-Cook
- Cuisine: American
- Diet: Vegetarian
Ingredients
Marinated and Pickled Items
- 10 oz Greek pitted mixed olives
- 6 oz stuffed green olives
- 10 oz hot cherry peppers
- 1 cup marinated mushrooms
- 8 oz pickled green beans
- 8 oz pickled carrots
- 4 oz cornichons or sweet gherkins
- 8 oz pickled okra
- 2 cups boiled peanuts
Cheese and Bread
- 1 cup pimento cheese
- 3 oz parmesan cheese crisps
- 1 package garlic parmesan toasted French rounds
Instructions
- Drain Ingredients: Thoroughly drain all marinated and pickled items to prevent excess liquid from pooling on the tray, ensuring the presentation remains fresh and appealing.
- Arrange on Tray: Neatly arrange the olives, cheeses, pickled vegetables, and nuts on one or multiple relish trays. Aim for a colorful and texturally interesting layout to entice guests.
- Serve or Store: Serve the relish trays immediately at room temperature or chilled. If preparing in advance, cover tightly and store in the refrigerator until ready to serve to maintain freshness.
Notes
- Relish trays can be served chilled or at room temperature depending on preference.
- This recipe serves approximately 20 guests; to accommodate fewer people, reduce or select fewer ingredients accordingly.
- Choose ingredients based on color and texture to create visually appealing trays.
- Provide guests with small plates, cocktail forks, and napkins for easy serving and enjoyment.
Keywords: relish tray, appetizer, marinated vegetables, pickled vegetables, olives, cheese, party platter, easy appetizer, no-cook appetizer


